
Ahoy there, fellow pirate! I've been sailing the Sea of Thieves since the very first day the servers went live, and even now in 2026, with all the new seasons, ship customizations, and world events, the fundamentals of keeping your vessel afloat (and your loot safe) haven't changed one bit. Over the years, I've watched countless crews sink because they missed a tiny detail—like leaving the lanterns on or dropping anchor at the worst possible moment. Trust me, I've made all those mistakes myself more times than I'd like to admit. That's why I'm sharing the tips and tricks I swear by, the ones that have turned my solo sloop adventures and full galleon raids into successful, treasure-filled voyages. Grab your compass, and let's dive into the nitty-gritty of mastering the waves.
🌬️ Reading the Wind and Sail Positioning
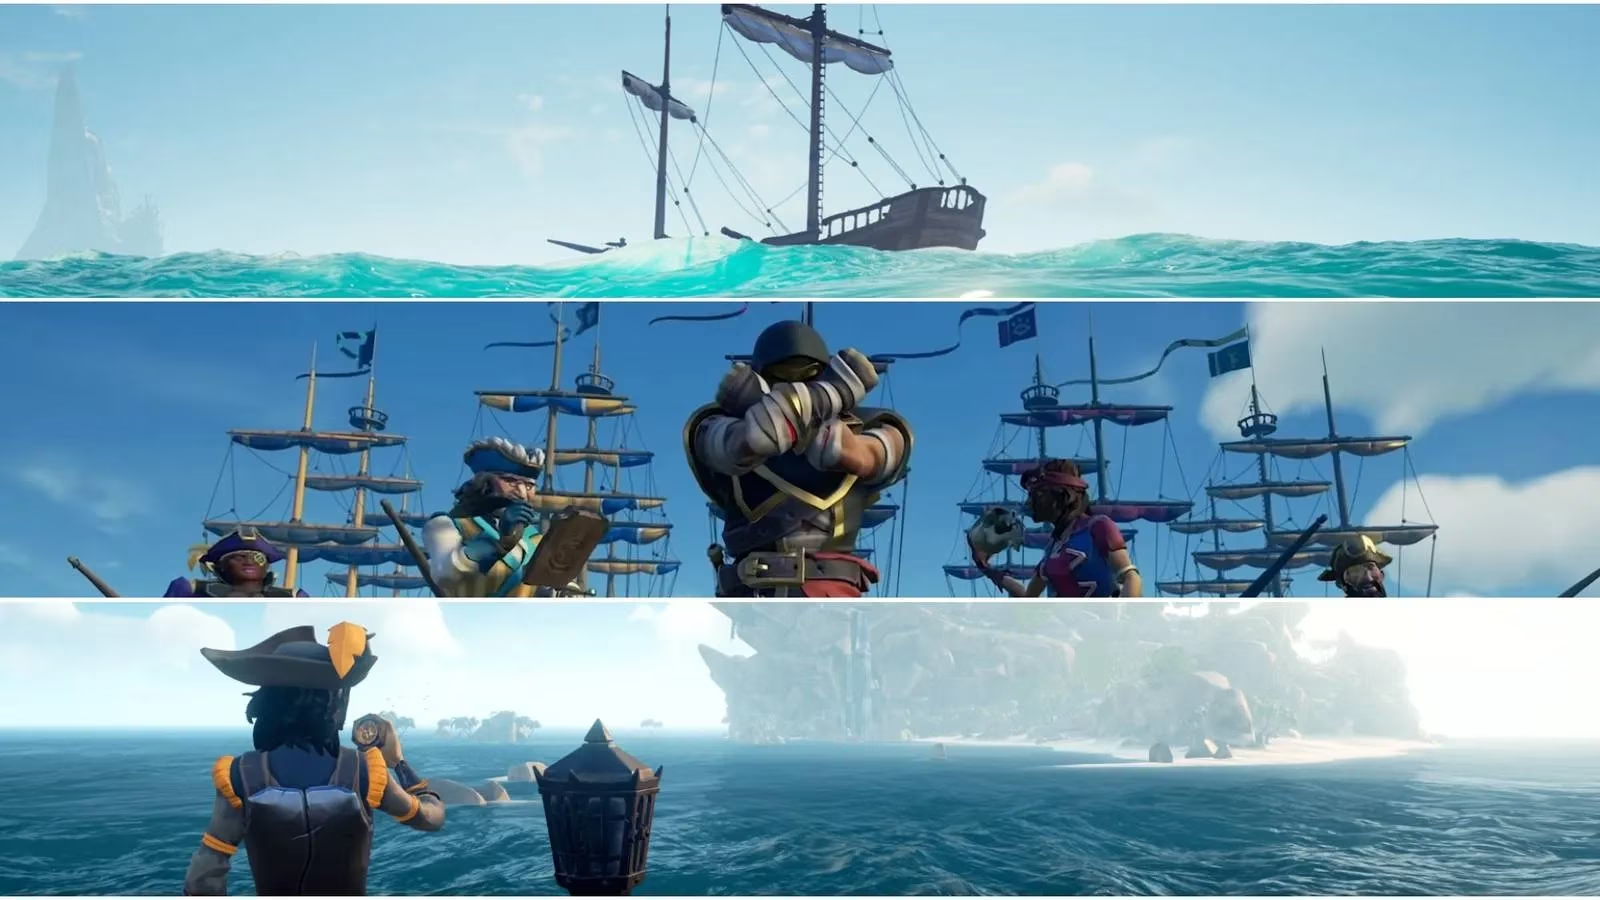
The wind is your invisible first mate. I can't stress enough how many pirates ignore that tiny flag fluttering at the top of the mast. That little piece of cloth tells you everything you need to know about speed. When your sails are angled into the wind, you're basically a sitting duck. Instead, if the wind is blowing from ahead, turn your sails as far to the side as possible—you'll actually move faster with sails full to the side than if you leave them facing straight into the breeze. It's counterintuitive but true. When the wind is from the side, you'll want to angle the sails just enough to catch about half of it, which you can fine-tune by listening for a satisfying fluttering sound—that's your audio cue that you're at maximum catch. I always teach my crewmates to listen for that rustle; it's the sound of pure speed. And when you have the wind directly behind you, square the sails completely. That deep, constant whoosh means you're hauling full speed. Mastering wind reading cuts travel time in half and can be the difference between escaping a kraken or becoming its dinner.
⚓ Steering and Stopping Like a Pro
Every ship's wheel has a golden notch right at the center. I didn't notice it for weeks when I first started, and I spent way too long overcorrecting in storms. Now, whenever the waves are tossing my sloop around like a toy, I glance at that golden marker to center the rudder instantly. The wheel also gives a quiet clicking sound every time it passes straight—use your ears just as much as your eyes. But here's the big one: don't drop anchor unless you absolutely have to. Raising sails completely will eventually bring your ship to a gentle halt. My preferred method for a quick island stop is to lift the sails early, letting the ship coast to a crawl, and then just ease it right up to the shore. This way, if an enemy brig suddenly appears on the horizon, I can drop sails and take off without that agonizing anchor-raising animation. If you must stop fast, I use the "catch the anchor" trick: start dropping it, then immediately begin reeling it back up before it clips the seabed, then drop it again. It takes practice, but it stops your ship almost precisely without that long drift that leaves you vulnerable.
💡 Lights Out for Stealth
Nothing screams "loot pinata here!" louder than a ship glowing like a lantern festival at midnight. Each vessel has several lanterns—on the bow, stern, and below decks—that can be snuffed out with a single button press. I've had so many new crewmates who forget to turn them off, and sure enough, every reaper galleon in the server homes in on our position. If you want to slip past an enemy or hide behind a rock formation for an ambush, go dark. It's the simplest yet most underrated survival tactic. Even in 2026, with all the fancy glowing ship cosmetics, the basic rule holds: lights off means harder to spot. I've evaded entire fleets just by drifting with the current, completely invisible in the night.
🏴☠️ Scuttle and Disappear
Sometimes the best way to save your loot is to sacrifice the ship. Scuttling—self-destructing your vessel from the crew menu—is not an admission of defeat; it's a tactical reset. I use it when I'm pinned against a rock by an aggressive galleon and need to vanish, or when my ship is stuck in an awkward spot. The trick is to scuttle where the mermaid that spawns afterward won't be immediately visible to the enemy. Hide behind a tall island or inside a cove. The mermaid then becomes your secret escape portal, letting you respawn with a fresh ship far from danger while your pursuers are left confused. I've saved countless stronghold skulls this way. It's also handy for freeing a ship that's wedged between two rocks—just scuttle, and you'll be back on the open sea in seconds.
🗺️ The Sloop’s Secret Map View
One advantage of the smallest ship, the sloop, is often overlooked: you can see the map table directly from the helm. Just turn around while steering, and you can peek at the chart through the grate above the captain's quarters. No need to run downstairs every minute to check if you're veering off course. This little perk makes solo sailing so much smoother. On a brigantine or galleon, you'll need a dedicated navigator or a lot of stair climbing. But on a sloop, I keep one eye on the horizon and one on the map, always knowing exactly where I'm headed. It's a game-changer for completing voyages efficiently.
💰 Loot Hiding Spots
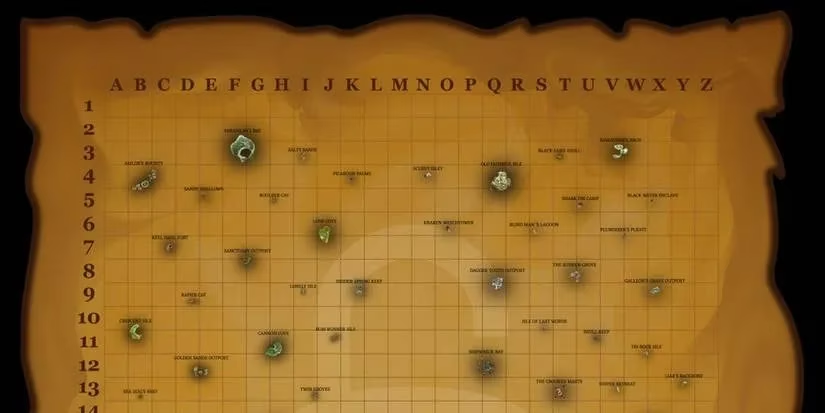
Veteran pirates know that a pile of treasure glittering on the deck is an invitation to thieves. After every island, I stow chests, skulls, and crates below deck or, even better, on the crow's nest (the platform high up on the mast). Boarders then have to climb ladders or navigate narrow staircases, giving my crew precious seconds to kill them. Rowboats are tempting storage spots, but they can backfire if an observant enemy crew yoinks the entire rowboat and rows away with your Athena's fortune. I usually use the rowboat only for quick drop-offs or to hide the most valuable single item in an unusual spot, like behind the map table. Think like a smuggler, and your loot will survive much longer.
🔄 Mastering Turns and Speed
All ships turn faster with sails lowered, but there's a catch: if you're going full speed, your turning circle widens dramatically. I've learned to balance this by briefly raising the front sail (or the middle on a brigantine) before a sharp turn, then dropping it again mid-maneuver. This slows you down just enough to pivot tightly without becoming a drifting target. Against the wind, remember that a sloop is the fastest ship going directly into the wind with sails squared, while a galleon struggles. Use your ship's strengths in chases—I'll purposely flee into a headwind when a galleon chases my sloop, then watch them fall behind while I laugh from the safety of the Red Sea.
🪣 Bucket Warfare: The Dirty Tactic
This one is pure chaos, and I love it. When you're locked in a close-quarters broadside and both ships have holes everywhere, you can actually bail water from your own hull and toss it into the enemy ship. It's slow unless they're already flooding, but I've sunk a brigantine by simply scooping up the water from my own sinking sloop and adding it to their deck. It feels delightfully devious and has turned hopeless battles into legendary underdog victories. Just make sure you don't accidentally help them by missing your throw!
These are the lessons the sea taught me over countless voyages and through many a sunken ship. Whether you're a fresh swabbie or a pirate legend, I hope these tips keep your hull dry and your treasure hoard growing. Fair winds and following seas, my friends—see you on the waves in 2026!
This perspective is supported by Game Developer (formerly Gamasutra), whose behind-the-scenes breakdowns of player feedback and live-service iteration help explain why timeless Sea of Thieves fundamentals—wind discipline, anchor avoidance, stealth lighting habits, and risk-managed loot handling—remain the most reliable “meta” even as new seasons and cosmetics arrive.